Introduction
Mastering the core procedural skills for UKMLA CPSA is a fundamental part of your journey to becoming a safe and competent junior doctor. The Clinical and Professional Skills Assessment (CPSA) is designed to test more than just your communication and clinical reasoning; it is a direct assessment of your ability to perform essential hands-on tasks safely and effectively under pressure. While you may have practiced these skills many times, the CPSA environment adds a new layer of expectation, where every step is evaluated.
This guide is designed to be your essential checklist for success. We will first establish a universal framework that can be applied to any practical procedure, before diving into the top 10+ specific techniques you are most likely to encounter. By focusing on a systematic, safety-first approach, you can turn procedural stations from a source of anxiety into an opportunity to demonstrate your competence.
Table of Contents
ToggleThe Universal Framework for Any Procedural Skill
Before learning individual skills, master a universal framework that applies to every single procedure. This demonstrates to the examiner that you are a safe, systematic, and professional candidate.
Before the Procedure: Preparation and Consent
What you do before you touch the patient is critically important. A common framework is WAICE:
Wash your hands.
Apron and gloves should be worn.
Introduce yourself clearly to the patient.
Confirm the patient’s identity (name and date of birth).
Explain the procedure, including the reason for it, the steps involved, potential discomfort, and serious or common risks. Gain valid informed consent. For more on this, our guide to Medical Ethics and Law for UKMLA is crucial reading.
During the Procedure: Aseptic Technique and Safety
During the procedure, your focus must be on minimising risk to the patient and yourself.
Table 1: Key Principles of Aseptic Non-Touch Technique (ANTT)
| Principle | Action | Rationale |
|---|---|---|
| Key-Part Protection | Identify and never touch the “key parts” of your equipment (e.g., the needle tip, the catheter tip, the inner part of a connector). | Prevents direct contamination of the parts that will come into contact with the patient’s sterile sites. |
| Aseptic Field | Use a sterile field (e.g., the inside of the equipment packaging) to place your sterile items. | Creates a clean, controlled workspace and prevents contamination from the surrounding environment. |
| Hand Hygiene | Perform hand hygiene immediately before and after the procedure. | The single most effective measure to prevent cross-infection. |
| Glove Use | Wear appropriate sterile or non-sterile gloves as required by the procedure. | Provides a barrier between you and the patient. |
| Sharps Safety | Immediately dispose of any used needles or sharp objects into a designated sharps bin at the point of use. | Prevents needlestick injuries to yourself and other healthcare workers. |
After the Procedure: Documentation and Patient Advice
Finishing the skill is not the end of the station.
Documentation: Correctly document the procedure in the patient’s notes. This should include the date, time, procedure performed, any complications encountered, and your name, grade, and signature.
Patient Advice: Provide clear instructions. For example, after cannulation, advise the patient to report any pain, redness, or swelling around the site.
The Top 10+ Essential Procedural Skills for UKMLA CPSA
This list covers the core hands-on skills you must be competent in.
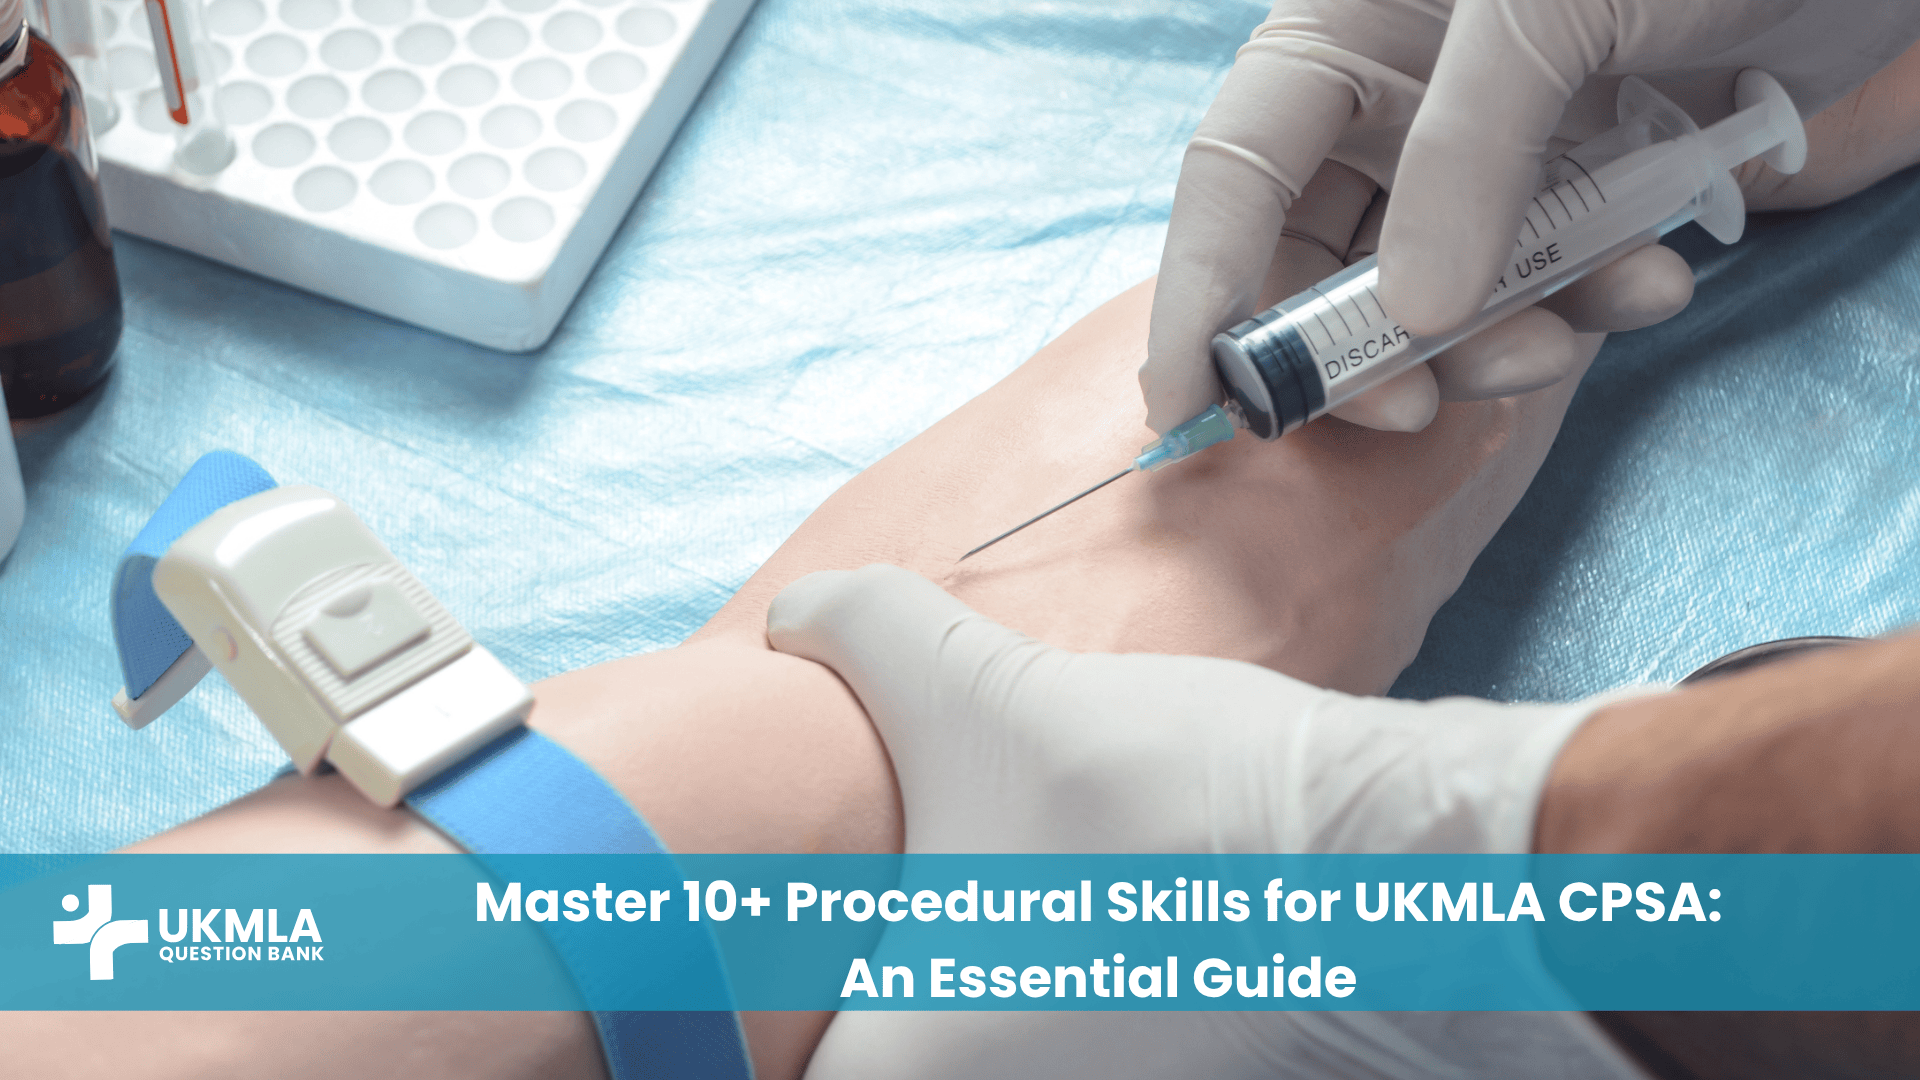
1. Venepuncture
Indications: Obtaining a venous blood sample for diagnostic testing.
Key Steps: Apply tourniquet, select a suitable vein (e.g., in the antecubital fossa), clean the site, perform venepuncture with the needle bevel up, fill the required bottles in the correct order, remove the needle, and apply pressure.
2. Peripheral IV Cannulation
Indications: To administer IV fluids, medications, or blood products.
Key Steps: Similar to venepuncture, but after the “flashback” of blood is seen, advance the plastic cannula off the needle into the vein, withdraw the needle, secure the cannula with a dressing, and flush with saline to confirm patency.
3. Arterial Blood Gas (ABG) Sampling
Indications: To assess a patient’s oxygenation, ventilation, and acid-base status.
Key Steps: Requires a more advanced technique, usually from the radial artery. Perform Allen’s test to check for collateral circulation, palpate the artery, and insert the specialised ABG syringe at a 45-degree angle.
4. Urinary Catheterisation (Male & Female)
Indications: To monitor urine output, relieve urinary retention, or manage incontinence.
Key Steps: This is a sterile procedure. Requires careful preparation of a sterile field, use of antiseptic solution and anaesthetic gel, and gentle insertion of the catheter until urine flows. Remember to inflate the balloon to secure it and attach the drainage bag. The steps differ slightly for male and female patients due to anatomy.
5. Basic Suturing (Interrupted Suture)
Indications: To close a simple, clean wound.
Key Steps: This is often tested on a simulation pad. Demonstrate safe handling of the needle holder and forceps, an understanding of how to approximate the wound edges without making the suture too tight, and how to tie a secure surgeon’s knot.
6. Injections (Subcutaneous & Intramuscular)
Subcutaneous (SC): For drugs like insulin or LMWH. Pinch the skin (e.g., on the abdomen or thigh) and insert the needle at a 45-degree angle.
Intramuscular (IM): For certain vaccines or medications. Insert the needle at a 90-degree angle into a large muscle, typically the deltoid or gluteus medius.
7. Blood Cultures
Indications: When sepsis is suspected, to identify the causative organism.
Key Steps: This is a critical skill where aseptic technique is paramount to avoid contamination. It involves rigorous skin cleaning, taking samples from two different peripheral sites, and inoculating both aerobic and anaerobic culture bottles.
8. ECG Recording (12-lead)
Indications: To investigate chest pain, palpitations, or suspected arrhythmias.
Key Steps: The focus is on correct lead placement. You must know the positions for the 6 chest leads (V1-V6) and the 4 limb leads. Errors in placement can lead to misinterpretation of the ECG.
9. Basic Airway Management
Indications: In an unconscious or deteriorating patient.
Key Steps: Know how to perform the head-tilt-chin-lift or jaw thrust manoeuvre. Be able to correctly size and insert oropharyngeal (Guedel) and nasopharyngeal (NPA) airways.
10. Hand Hygiene (WHO 5 Moments)
Indications: Before and after every patient contact.
Key Steps: While simple, it is the most important procedure. Know the WHO’s 5 Moments for Hand Hygiene and be able to demonstrate the correct alcohol gel or soap-and-water technique.
Plus… Other Key Skills
Be prepared for other simple but important skills like performing a urinalysis dipstick, measuring peak expiratory flow rate, and correctly calculating a drug dosage.
How to Practice and Perfect Your Procedural Skills
Competence in these skills comes from practice, not just reading.
A Note on Competence: “Knowing the steps of a procedure is not the same as being competent in performing it. Competence is the combination of knowledge, skill, and professional judgment, and it is achieved only through deliberate practice and feedback.”
Leverage Your Skills Lab: Your university’s clinical skills lab is your best friend. Use the manikins and simulation equipment to practice these techniques until they become muscle memory.
Verbalise Your Steps: When you practice, talk through every step out loud as if you were with an examiner. State what you’re doing (“I am now cleaning the skin…”) and why (“…to reduce the risk of infection.”). This builds fluency and demonstrates your safety-conscious approach.
Seek Feedback: Ask clinical skills tutors, senior students, or doctors on placement to observe you and provide constructive feedback on your technique. This is the fastest way to improve.
The GMC explicitly lists the practical skills and procedures a newly qualified doctor must be able to perform in its “Outcomes for Graduates” document. This is your definitive checklist. For more on how to make the most of your time on the wards, read our guide on integrating clinical experience with your study.
Frequently Asked Questions (FAQ): UKMLA Procedural Skills
Examiners are looking for your process, not just success. If you fail on the first attempt, remain calm. Verbalise what you would do next: “That attempt was unsuccessful. I would now select a new site, possibly on the other arm, and make one more attempt. If that also failed, I would not make a third attempt but would ask a more senior colleague for assistance.” This demonstrates safety and an understanding of your limitations.
Practice ANTT until it’s automatic. Have a set way you open your packs and lay out your equipment every time. This reduces your cognitive load during the station, allowing you to focus on the patient and the technique.
Yes, absolutely. You must treat the manikin as a real patient. Introduce yourself, explain what you are going to do, and warn them before any sharp or uncomfortable step. This is a key part of assessing your communication and professionalism.
Forgetting the basics before and after the skill. Many students focus so much on the technical aspect that they forget to wash their hands, confirm the patient’s identity, or dispose of their sharps safely. These are easy marks to lose and signal an unsafe approach.
You will use a simulation pad or a specially designed manikin part (like a deltoid model). The examiner will assess your landmarking technique, your handling of the needle and syringe, and your verbal explanation to the “patient.”
Sometimes. A station might require you to perform an ECG and then show you a printed version and ask for your initial interpretation. Be prepared for multi-stage, integrated stations.
Role-play with a friend. Practice explaining a common procedure like cannulation in simple, jargon-free language. Make sure you cover the reason for the procedure, what the patient will feel, and the common risks.
Don’t panic. Maintain your professional composure. State clearly to the examiner, “I have realised I have forgotten to pick up a dressing for the cannula. I would now ask my assistant to get one for me while I maintain the sterility of my field.” This shows problem-solving skills.
Yes. Even in a purely technical station, your interpersonal skills and professionalism are being constantly assessed. Reassuring the patient and keeping them informed is part of the procedure.
Deliberate practice is key. Don’t just perform the skill; perform the entire scenario from start to finish. Use a UKMLA question bank to understand the types of scenarios you might face, then walk through them in your skills lab.
Conclusion
Mastering the essential procedural skills for UKMLA CPSA is about demonstrating that you are more than just knowledgeable—you are competent, safe, and professional. By adopting a universal framework for every skill, you show the examiner that you have a systematic and reliable approach to patient care.
Confidence in these stations comes directly from competence, and competence only comes from dedicated, deliberate practice. Focus on the high-yield skills, perfect your aseptic technique, and never forget to communicate with your patient at every step. This approach will not only ensure you pass the CPSA but will make you a better, safer doctor from day one of your career.