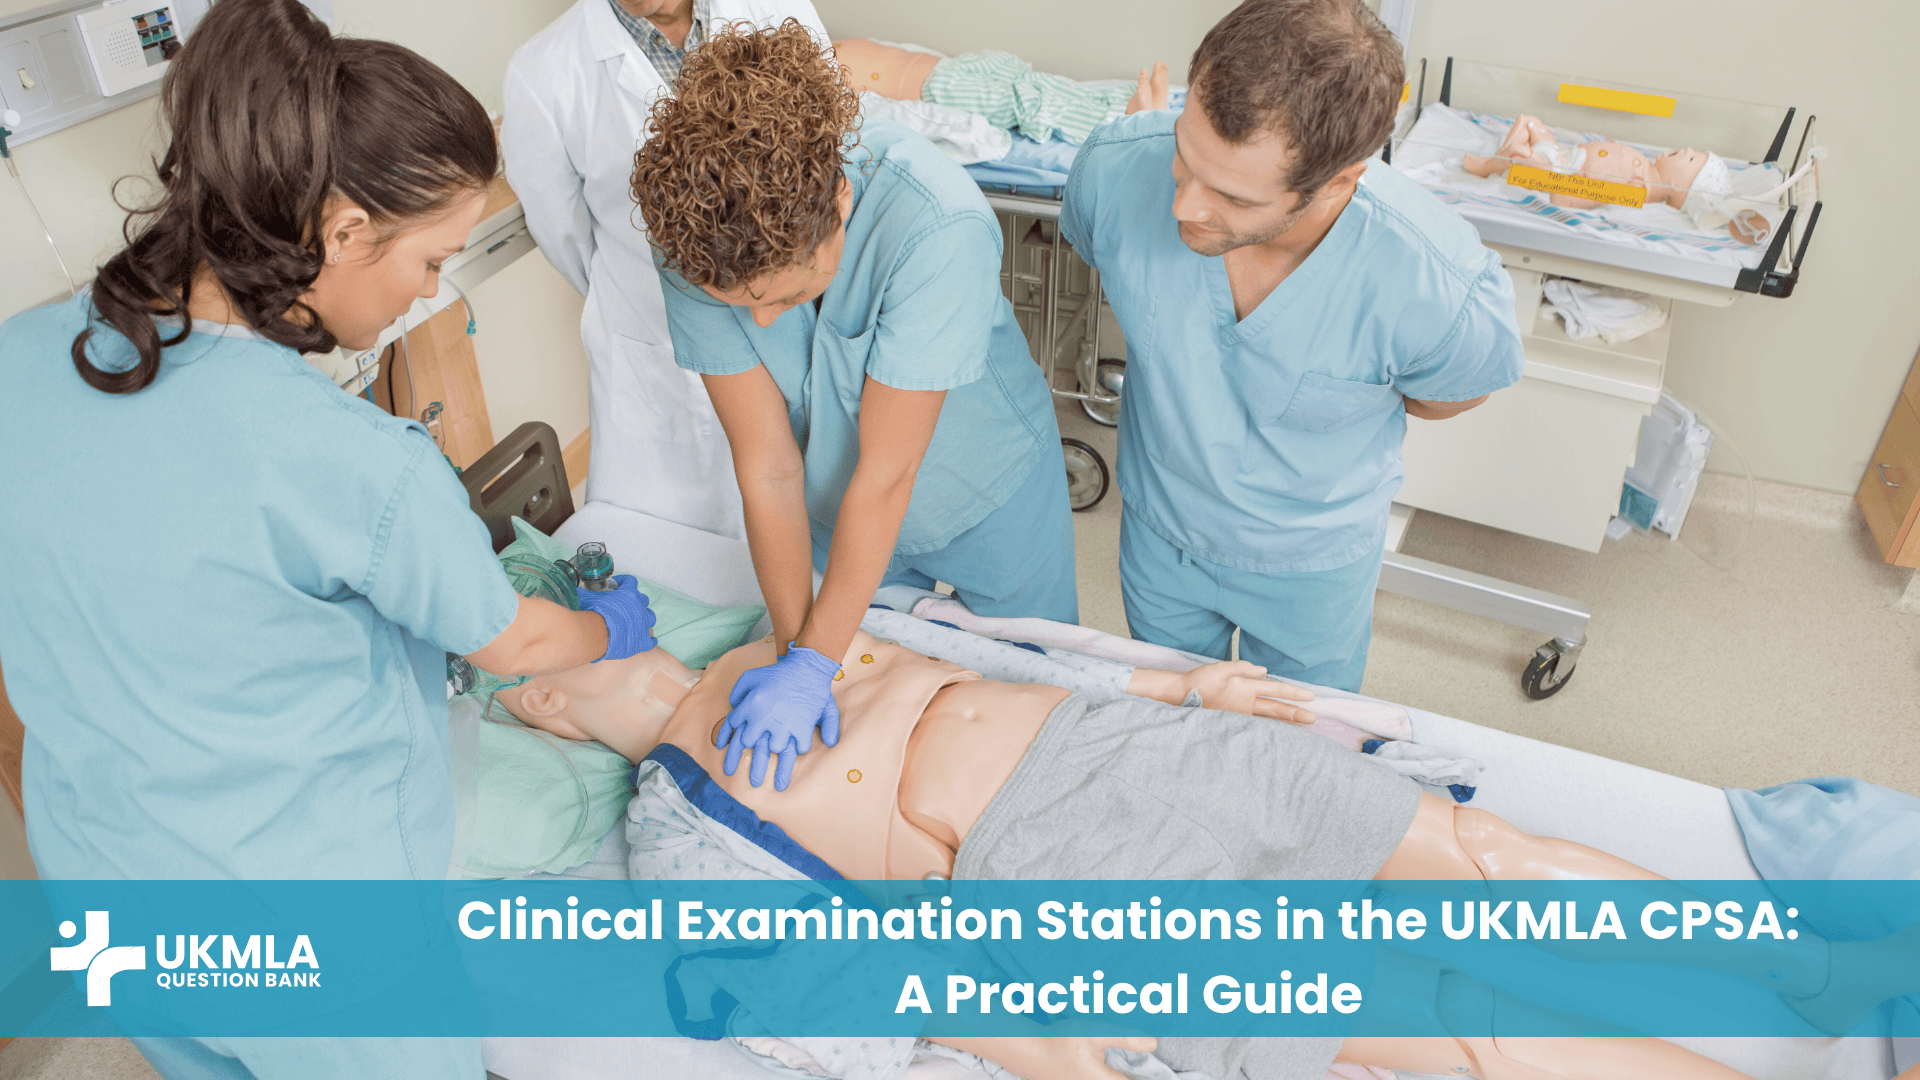
The UKMLA Clinical and Professional Skills Assessment (CPSA) is where your years of medical study are put to the test in a real-time, practical environment. Among the various scenarios you’ll face, the UKMLA clinical examination stations are fundamental. These stations are designed to assess your ability to perform a systematic, accurate, and professional physical examination, identify clinical signs, and communicate your findings effectively. It is a direct evaluation of your hands-on competence and your readiness to interact with patients safely.
This guide provides a practical, in-depth look at how to excel in the UKMLA clinical examination stations. We will break down the structure of these OSCE encounters, outline a universally applicable system for approaching any examination, and provide high-yield tips for the most commonly tested systems, such as respiratory, cardiovascular, and abdominal exams. By mastering a structured technique and understanding the assessment criteria, you can transform these potentially nerve-wracking stations into an opportunity to confidently demonstrate your skills.
Key Takeaways
Before we break down the techniques, here are the essential principles for success in any UKMLA clinical examination station:
- Adopt a Universal Structure: Always follow a consistent routine: introduction, consent, hand washing, general inspection, and a systematic approach (e.g., hands, face, neck, chest).
- Communication is Continuous: Examination is not a silent procedure. Explain what you are doing, give clear instructions to the patient, and verbalize your findings for the examiner.
- Master the ‘WIPE’ Introduction: Always start with Wash hands, Introduce yourself, gain Permission (consent), and Expose the patient appropriately.
- Look and Think Before You Touch: The general inspection is a goldmine for clinical signs. Don’t rush this step.
- Verbalize Everything: The examiner cannot read your mind. Clearly state both positive and negative findings as you discover them (e.g., “On palpation, there is no tenderness,” “I can hear a pan-systolic murmur”).
- Don’t Forget the Basics: Simple things like checking for patient comfort, maintaining dignity, and thanking the patient at the end are crucial parts of professionalism.
- Practice Makes Perfect: There is no substitute for repeated, timed practice of your UKMLA clinical examination routines until they become second nature.
Why the Clinical Examination Station is Crucial in the CPSA
The CPSA is designed to ensure you are safe to practice medicine. The UKMLA clinical examination station is a direct test of this, assessing your ability to gather vital information from a patient through physical touch and observation.
Assessing “Readiness for Safe Practice”
The ability to perform a competent physical examination is a core component of the “Readiness for Safe Practice” domain, a central theme of the entire UKMLA. It demonstrates that you can interact with patients professionally, perform tasks systematically, and identify signs of disease that may not be apparent from the history alone. A well-performed examination can change a management plan entirely. For more on this, “A Deep Dive into the ‘Readiness for Safe Practice’ Domain of UKMLA” provides essential reading.
The Integration of Skills
A UKMLA clinical examination station is never just about the physical manoeuvres. It is an integrated assessment of multiple skills simultaneously:
- Technical Skill: Performing the examination sequence correctly and efficiently.
- Communication: Giving instructions, explaining procedures, and showing empathy.
- Professionalism: Maintaining patient dignity, gaining consent, and demonstrating respect.
- Clinical Reasoning: Linking the signs you find to a potential diagnosis or differential.
The examiners are watching how you blend these skills into a seamless, patient-centered encounter.
The Objective Nature of the OSCE Format
The Objective Structured Clinical Examination (OSCE) format ensures that every candidate is assessed against the same standardized checklist for a given UKMLA clinical examination. This means there are specific marks available for actions like washing your hands, asking about pain before palpating, and correctly identifying a clinical sign. Understanding this structure, which we cover in “UKMLA CPSA Explained: Format, Stations, and Assessment Criteria,” allows you to prepare in a way that maximizes your scoring potential.
The Universal Approach to Any UKMLA Clinical Examination Station
Whether you are asked to examine the cardiovascular system or perform a cranial nerve exam, a consistent, structured approach will ensure you never miss critical steps and will keep you calm under pressure.
The ‘WIPE’ Introduction: Your First 30 Seconds
Every single UKMLA clinical examination must begin with WIPE:
- W – Wash Hands: Use the provided alcohol gel. Do it visibly as you enter the room or at the bedside.
- I – Introduce Yourself: State your name and your role clearly (e.g., “Hello, my name is [Your Name], and I am a foundation year doctor”).
- P – Permission & Patient Details: Confirm the patient’s name and date of birth. Explain what you have been asked to do and gain informed consent (e.g., “I’ve been asked to perform a breathing examination. It will involve me looking, feeling, and listening to your chest. Is that okay with you?”).
- E – Exposure & Positioning: Ask the patient if they are comfortable and position them appropriately for the examination (e.g., at 45 degrees for a cardiovascular exam). Ensure adequate exposure while maintaining their dignity at all times.
Highlight: Nailing the WIPE sequence demonstrates to the examiner from the outset that you are a safe, professional, and systematic candidate. It is the foundation of every examination station.
General Inspection: The Art of Observation
Before you lay a hand on the patient, perform a thorough general inspection from the end of the bed. This is a critical step in any UKMLA clinical examination and is often where key diagnostic clues are found.
- Look at the Patient: Are they well or unwell? Comfortable or in pain? What is their body habitus?
- Look Around the Bed: What objects or “adjuncts” can you see? An oxygen mask, GTN spray, inhalers, a walking aid, or a fluid chart all provide vital information. Verbalize what you see (e.g., “I can see a salbutamol inhaler on the bedside table”).
The Systematic “Head-to-Toe” Sequence
After the general inspection, you should move to the patient and follow a systematic sequence. A common and effective approach is to work through the body, starting with the hands.
| Stage of Examination | Key Actions | Rationale |
|---|---|---|
| The Hands | Inspect for clubbing, tar staining, peripheral cyanosis, splinter haemorrhages. Check capillary refill time and radial pulse. | Hands provide clues for respiratory, cardiovascular, and systemic diseases. |
| The Face & Neck | Check the eyes for anaemia/jaundice, check central cyanosis. Check the JVP. Palpate for lymph nodes. | Provides information on hydration, oxygenation, and signs of heart failure or malignancy. |
| The Core Examination | Perform the specific system examination (e.g., chest, abdomen) using the classic ‘Inspect, Palpate, Percuss, Auscultate’ method. | The central part of the assessment, requiring a slick and practiced routine. |
| The Periphery | Check for sacral and pedal oedema. Check peripheral pulses. | Completes the examination by looking for signs of fluid overload or peripheral vascular disease. |
High-Yield UKMLA Clinical Examination Stations
While you could be asked to examine any system, some appear more frequently. Focusing your practice on these will provide the greatest return on your time.
The Cardiovascular Examination
This is a classic and high-yield UKMLA clinical examination station.
- Positioning: Patient at 45 degrees.
- Key Steps: Don’t forget to take the blood pressure. Auscultate the four valve areas with both the bell and the diaphragm. Auscultate the carotids for bruits. Palpate for the apex beat, heaves, and thrills.
- Common Findings: You should be able to identify and describe common murmurs (e.g., ejection systolic, pan-systolic), a displaced apex beat (cardiomegaly), or signs of peripheral oedema.
The Respiratory Examination
Another cornerstone of the CPSA.
- Key Steps: Check for tracheal deviation. Assess chest expansion. Systematically percuss and auscultate all lung zones, comparing left to right. Don’t forget to check vocal resonance.
- Common Findings: Be prepared to identify focal crackles (pneumonia/fibrosis), widespread wheeze (asthma/COPD), or the classic signs of a pleural effusion (stony dull percussion, reduced breath sounds).
The Abdominal Examination
This station tests your ability to be systematic and gentle.
- Key Steps: Always ask about pain and examine the painful area last. Kneel down to inspect the abdomen at eye level. Systematically palpate the nine regions, starting with light palpation then deep palpation. Percuss for shifting dullness if ascites is suspected. Auscultate for bowel sounds.
- Common Findings: Identifying specific areas of tenderness, organomegaly (hepatomegaly, splenomegaly), or a pulsatile mass (AAA) are key skills.
“A slick, systematic clinical examination is like a well-rehearsed piece of music. It flows, it’s efficient, and it tells a story. The only way to achieve this is through relentless practice until the sequence is embedded in your muscle memory.” – (Attributed to a Clinical Skills Tutor).
| Examination System | Critical “Don’t Forget” Step | Commonly Tested Sign |
|---|---|---|
| Cardiovascular | Checking for pedal and sacral oedema. | Aortic stenosis murmur (ejection systolic). |
| Respiratory | Checking for cervical lymphadenopathy. | Fine end-inspiratory crackles (pulmonary fibrosis). |
| Abdominal | Asking about pain and palpating the tender area last. | Palpable, pulsatile abdominal aortic aneurysm (AAA). |
| Cranial Nerves | Checking visual fields and fundoscopy (for relevant nerves). | A 3rd nerve palsy (down and out eye, ptosis, dilated pupil). |
Presenting Your Findings: The Final Step to Success
Completing the physical manoeuvres is only part of the task. You must be able to summarize your findings concisely and professionally to the examiner.
Structuring Your Summary
When the examiner asks, “Please present your findings,” do not simply list everything you did. Provide a structured, professional summary. A great way to structure this is:
- Opening Statement: “I performed a [e.g., cardiovascular] examination on Mr. Smith, a 65-year-old gentleman.”
- Key Positive Findings: Start with the most important findings. “On general inspection, the patient appeared comfortable at rest. The most significant finding on auscultation was an ejection systolic murmur, loudest in the aortic area and radiating to the carotids.”
- Relevant Negative Findings: Mention important negatives that help rule out other conditions. “There were no signs of heart failure such as peripheral oedema or raised JVP. The apex beat was not displaced.”
- Concluding Summary: “In summary, my main findings are consistent with a diagnosis of aortic stenosis.”
- Offer Differentials and Next Steps: “My primary diagnosis would be aortic stenosis. Other differentials to consider would include aortic sclerosis. To investigate further, I would like to obtain a 12-lead ECG and refer for an echocardiogram.”
Linking Signs to Diagnoses
Your summary should demonstrate that you can connect the dots. Don’t just list signs; group them together to form a clinical picture. For example, instead of saying “The patient had a displaced apex beat, crackles at the bases, and pedal oedema,” say “The patient had several signs consistent with congestive heart failure, including a displaced apex beat, bibasal crackles, and pitting pedal oedema.”
Highlight: A polished summary that links physical signs to a differential diagnosis demonstrates a higher level of clinical reasoning and is a key differentiator between a pass and a high-scoring performance in a UKMLA clinical examination station.
Interacting with the Examiner
Throughout the station, and especially during the summary, maintain a professional and confident demeanor.
- Make eye contact with the examiner when presenting.
- Speak clearly and audibly.
- If you are unsure of a sign, be honest. It is better to say, “I am unsure, but I think I can hear a soft murmur,” than to invent a finding.
- Be prepared for follow-up questions, such as “What is the most likely cause of this sign?” or “What investigation would you perform next?”
“The summary is your chance to prove you are not just a robot going through a sequence. It’s where you demonstrate your thinking process and your ability to synthesize information like a real doctor.” – (A note from the Royal College of Physicians on clinical skills assessment). For more on preparing for exam day itself, our “UKMLA Exam Day Checklist: What to Bring and What to Expect” is a very useful resource.
| Component of Summary | Example Phrasing |
|---|---|
| Opening Statement | “I performed a focused respiratory examination on Mrs. Jones, a 72-year-old lady.” |
| Key Positive Findings | “On auscultation, I noted fine end-inspiratory crackles at both lung bases.” |
| Relevant Negative Findings | “There was no peripheral cyanosis, clubbing, or signs of respiratory distress at rest.” |
| Summary & Differential | “In summary, the key finding of bibasal fine crackles would make pulmonary fibrosis my top differential diagnosis, though heart failure would also be a consideration.” |
| Next Steps | “To investigate further, I would request a chest X-ray and arrange for full pulmonary function tests.” |
Supercharge Your UKMLA Prep with UKMLAQuestionBank.com
Mastering the UKMLA clinical examination requires structured, repetitive practice. UKMLAQuestionBank.com is the ultimate resource to guide your preparation for the entire UKMLA, including the practical skills needed for the CPSA.
While the CPSA is a practical exam, understanding the underlying theory is crucial. Our extensive UKMLA question bank is filled with high-yield SBAs based on clinical vignettes that will test your ability to link physical signs to diagnoses. Practicing these questions will sharpen your clinical reasoning and help you anticipate the kind of scenarios and follow-up questions you will face in your examination stations.
With UKMLAQuestionBank.com, you get:
- Clinically-Rich Scenarios: Practice with hundreds of vignettes that require you to think like a clinician.
- Focus on High-Yield Topics: Our content is aligned with the UKMLA blueprint, covering all the core systems.
- Performance Analytics: Identify your weaker areas and focus your practical revision where it’s needed most.
- Comprehensive Explanations: Understand the “why” behind each diagnosis and management choice.
Frequently Asked Questions (FAQ) Your UKMLA Clinical Examination Questions Answered
You can practice the sequence on a family member, a friend, or even a pillow. The key is to verbalize every step out loud to build muscle memory and a smooth routine. Record yourself on your phone to check your timing and flow.
Stay calm. Don’t panic or stop. If possible, complete the section you are on and then say, “I would just like to go back and complete one step I missed,” and perform the step. This looks much more professional than freezing.
Typically, a UKMLA clinical examination station lasts between 8 and 12 minutes, which includes time for your introduction, the examination itself, and presenting your findings to the examiner.
It’s a balance. You must aim to complete the core components of the examination. A slick, practiced routine is key. It’s better to perform the most important steps well than to rush and do everything poorly.
No, this wastes time. Verbalize key negatives that are relevant to your differential diagnosis. For example, if you suspect aortic stenosis, saying “there is no evidence of heart failure” is a very relevant negative finding.
Sometimes, simulated patients are also real patients with stable, non-painful clinical signs (like a murmur or a scar). Always perform your examination as you would on any patient. Never assume a sign is simulated.
Practice! This “golden minute” at the start of a UKMLA clinical examination station needs to be rehearsed until it is automatic. Script it out and say it aloud repeatedly until it flows naturally.
Be honest. State what you can find. Say, “On auscultation of the praecordium, I did not appreciate any added sounds.” It is much safer and more professional than inventing a finding that isn’t there.
Follow “bare below the elbows” protocol. Do not wear a watch. You should have a pen and a notebook (or be provided with one) for making notes if the station requires it. For official guidance on professionalism, refer to the General Medical Council (GMC).
There’s no magic number, but quality and consistency are key. Aim to practice the major systems (Cardio, Resp, Abdo, Neuro) multiple times a week in the months leading up to your CPSA, focusing on developing a flawless routine.
Conclusion: Demonstrating Competence with Confidence
The UKMLA clinical examination stations are your chance to shine and prove you have the practical skills to be a safe and effective doctor. Success is not about memorizing obscure signs; it is about demonstrating a systematic, professional, and patient-centered approach. By adopting a universal structure for every encounter, practicing your routines until they are second nature, and learning to communicate your findings clearly, you can approach these stations with confidence.
Treat every practice session as a dress rehearsal for the main event. Your hard work will pay off, allowing you to perform a slick, competent clinical examination under pressure and take a major step towards your goal of practicing medicine in the UK.
Ready to sharpen the clinical reasoning that underpins every great examination? Boost your preparation with exam-style questions that will test your ability to link signs to diagnoses. Explore the comprehensive resources at UKMLAQuestionBank.com and build your confidence for the entire UKMLA today!
Excel in Your UKMLA CPSA!
Transform your clinical examination skills from a source of anxiety into your greatest strength. Access expert tips, structured guides, and practice scenarios to master your CPSA stations.
[Explore Our UKMLA CPSA Resources Now!]


